Original Post: Hexgears Immersion A3 TKL Mechanical Keyboard Review by zeroair.org
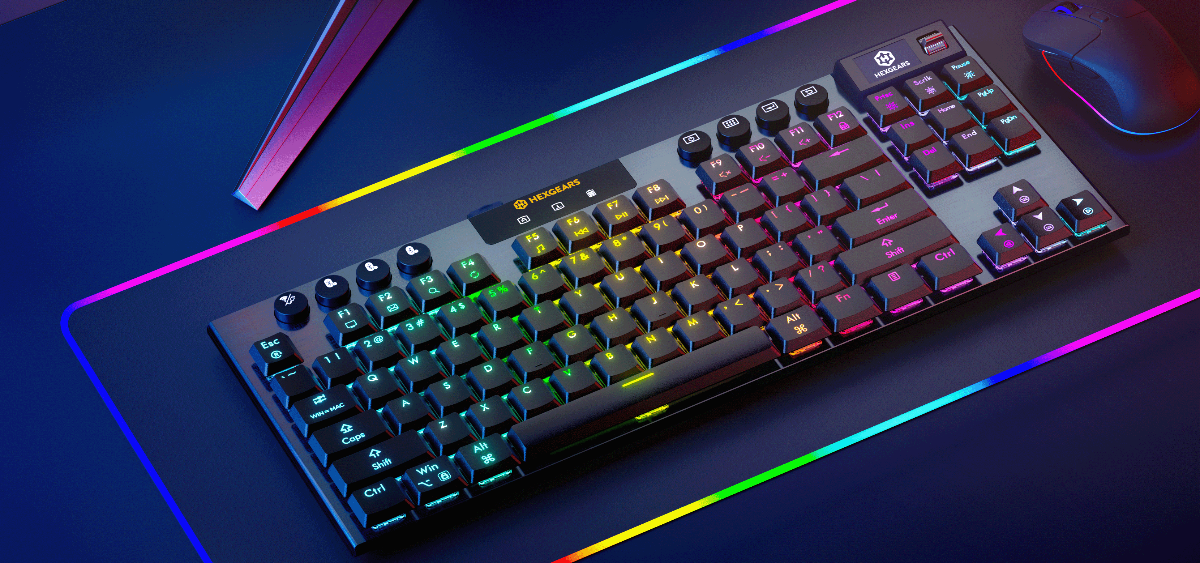
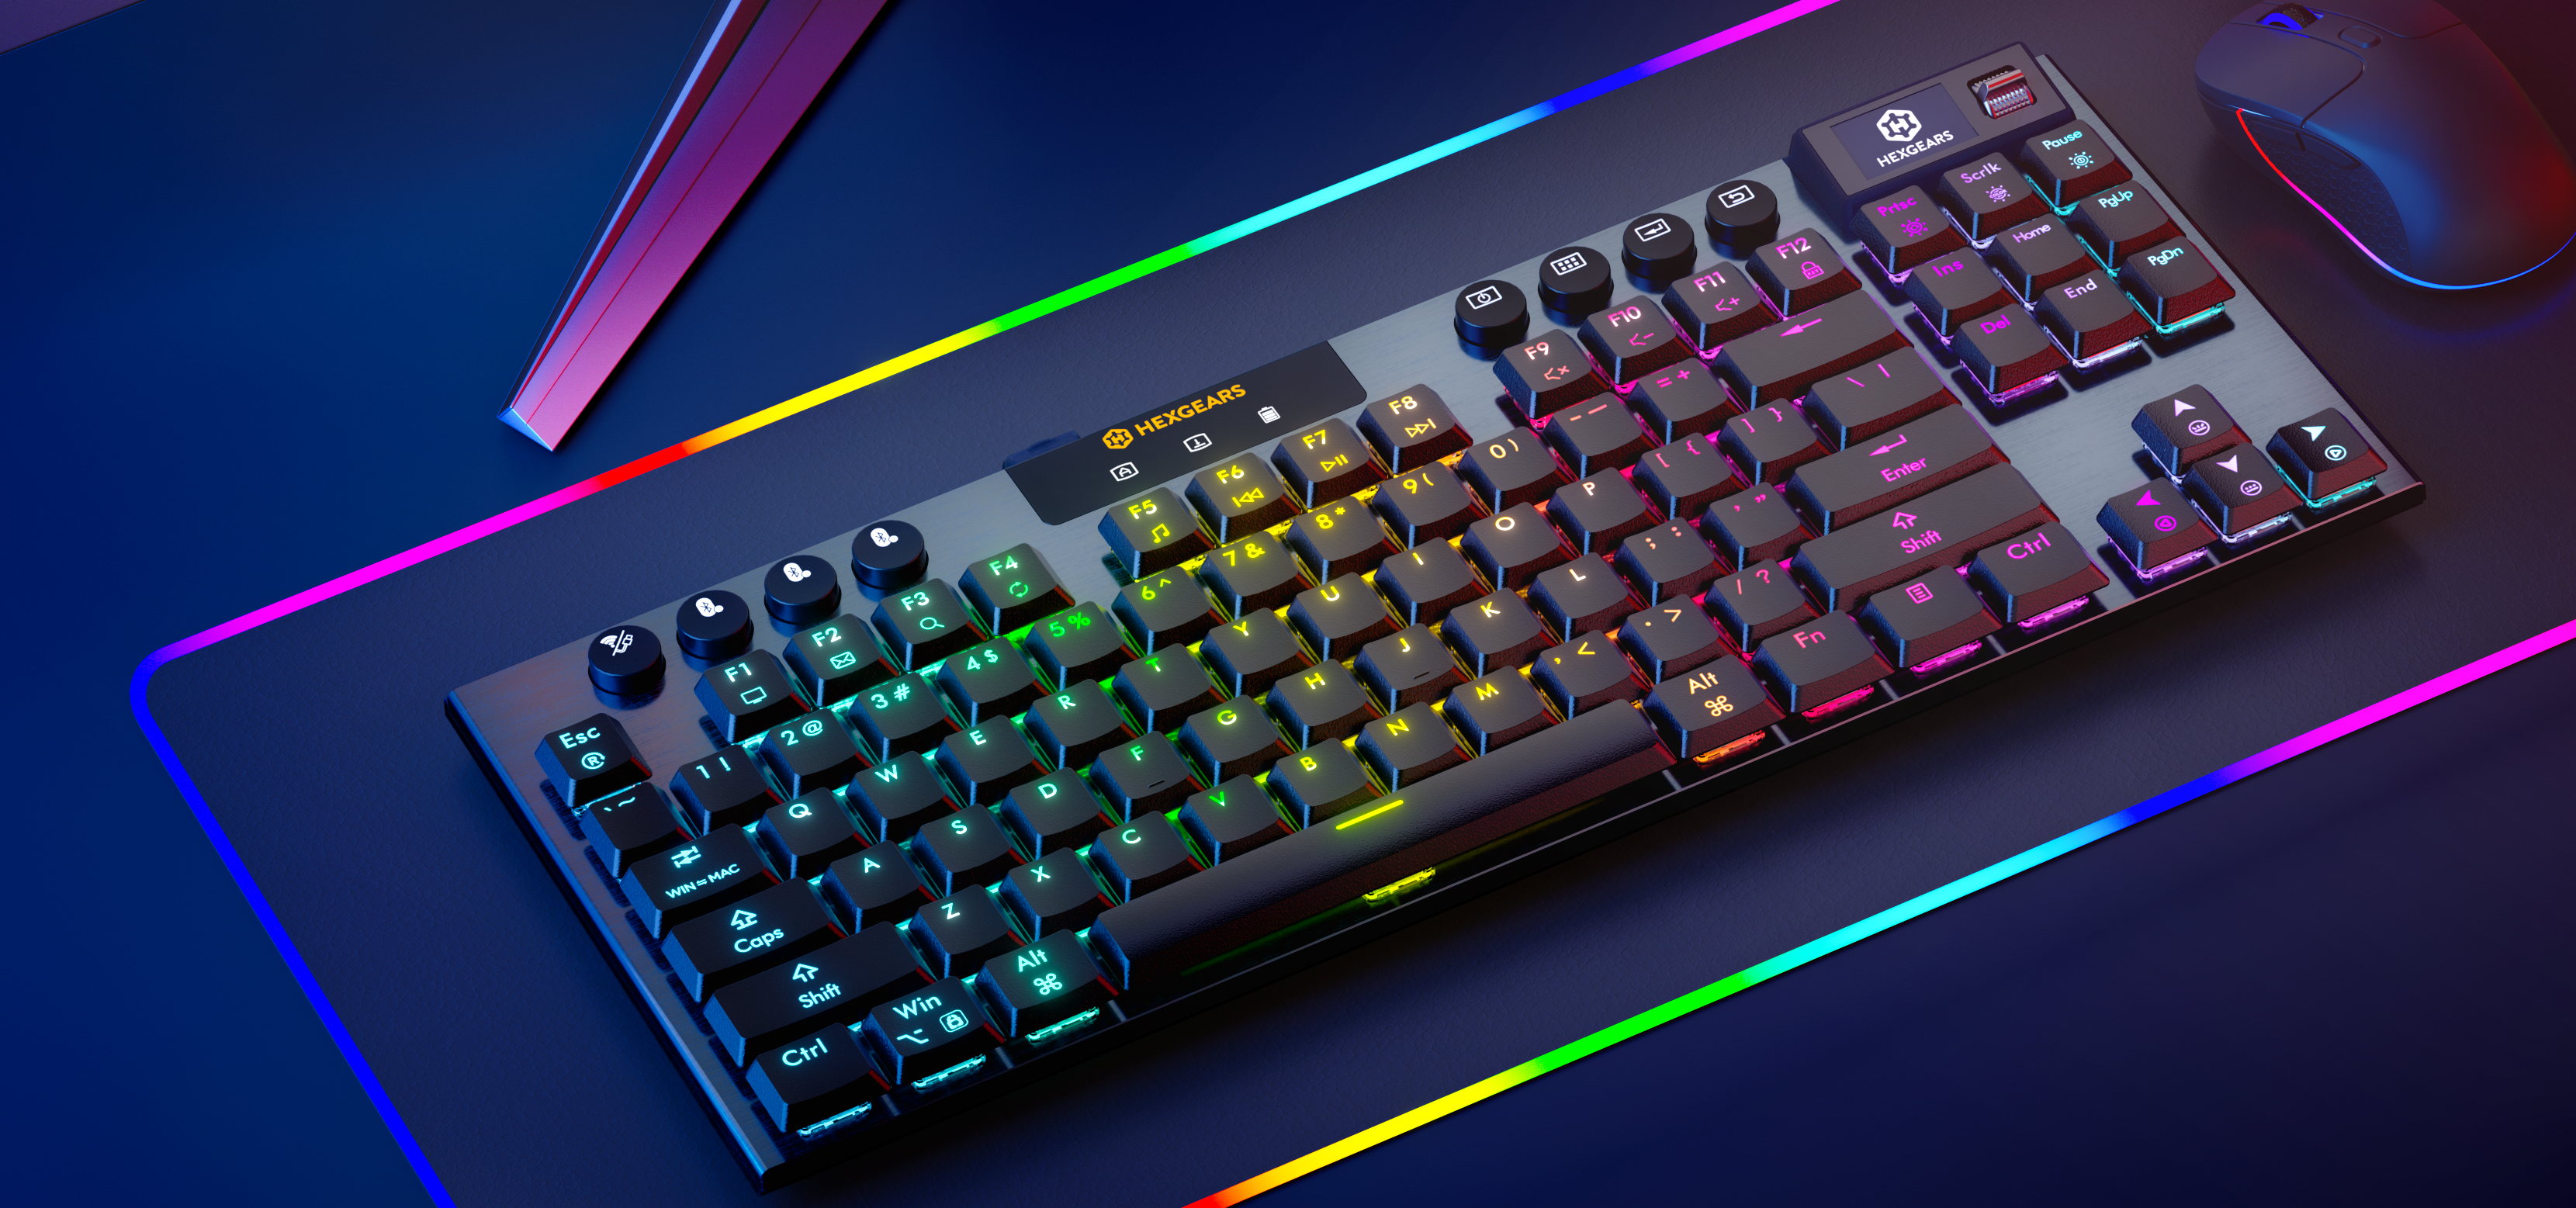
The Hexgears Immersion A3 TKL is a low-profile mechanical keyboard with a neat home screen and some accessory buttons to control Bluetooth, etc. Read on!
Short Review
I happen to love low-profile keyboards (all the way back to this Anidees that I still use!) The Hexgears Immersion A3 TKL mechanical keyboard is even better. I strongly prefer this TKL arrow layout and the other stuff is just neat. The little display in the top right is fun. I found connectivity to be easy and quick for both Bluetooth and wired. This seems like a solid board!
Long Review
What’s Included

- Hexgears Immersion A3 TKL mechanical keyboard
- Cable
- Switch puller
- Keycap puller
- Manual
Package and Manual


Size
Keyboard Size: 360 x 146 x 31 mm
Build Quality and Disassembly

Just out of the box, you’ll note that the build quality here is great.
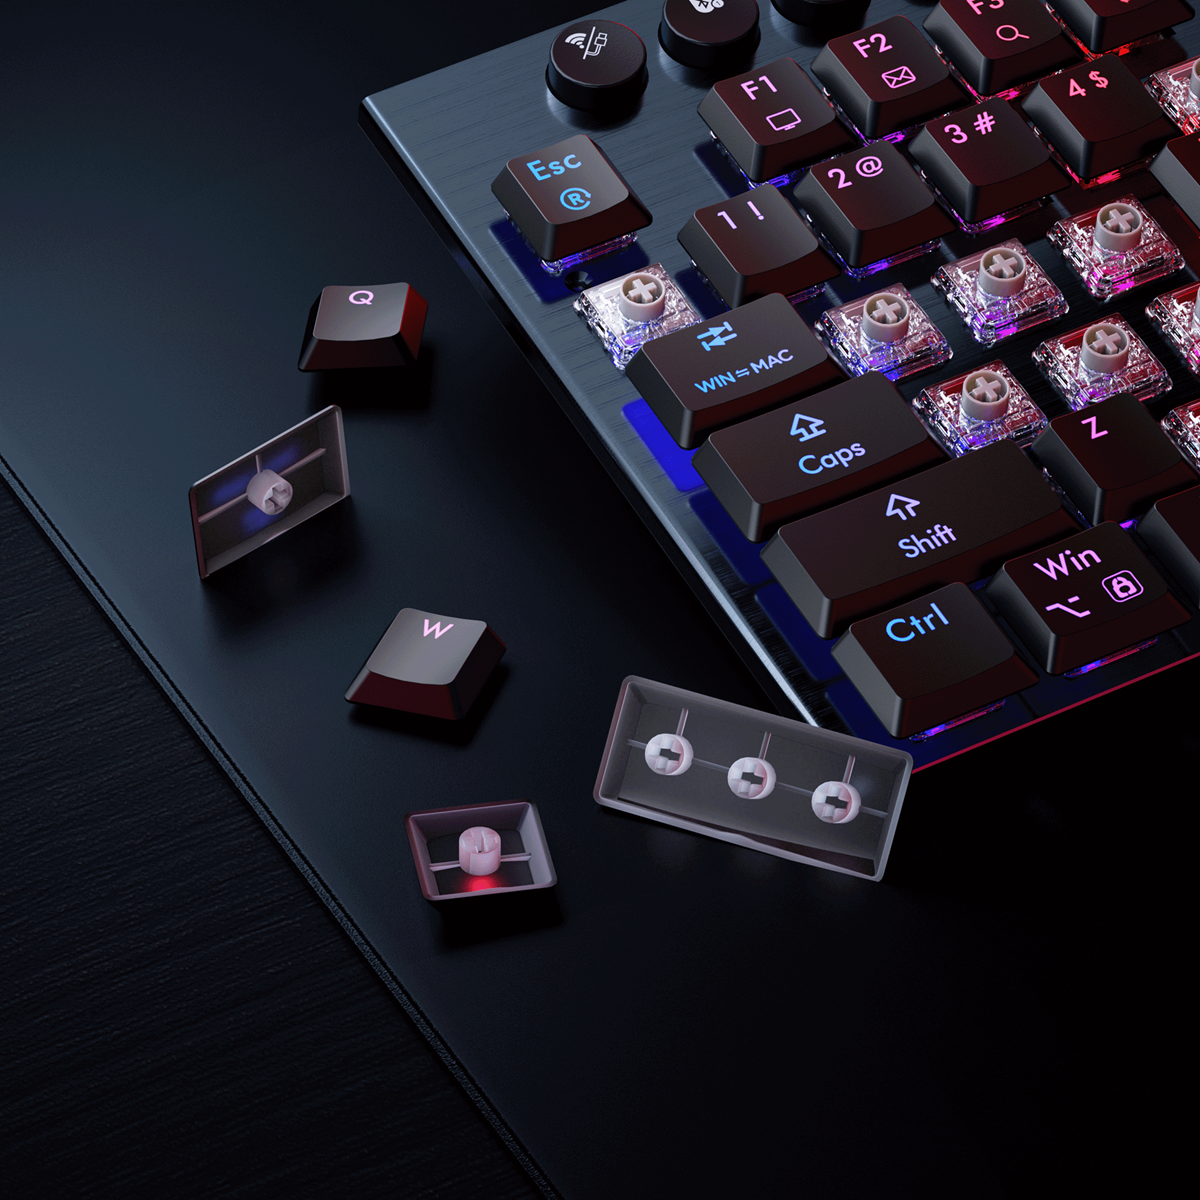
Hexgears includes tools you’ll need for taking off the caps and pulling these hot-swap switches.

Again, these are low-profile switches. They’re short!

The bottom case is plastic.

The top plate, though, is metal.

There seems to be a reasonable amount of support for the space bar and other wider keycaps. The action across any point on the space bar results in completely even depression of that key. It’s very good.

Usually I “fully” disassemble any keyboard sent for review. But after pulling all the keycaps and a few of the switches, I realized these switches are plate-mount. So even if you take all the caps off and remove all the screws (maybe 8-10 screws) I think you’d have to pull all the switches to remove the plate.

That’s a step I didn’t take. This might be my first plate-mount keyboard… I can say that it’s fine – plate or PCB mount does not seem to affect a board for me. Maybe the typing experience on a plate is a little “firmer,” but that could also be a difference in switch weight compared to what I usually type on.
That the switches are plate-mount doesn’t mean you can use just any old PCB mount switch on them, though. That’s one difference – PCB mount switches have two tabs.
Case

This was mentioned above, but the case here is plastic. There are feet on the top/back and they have two positions. The board has a very small natural rise anyway.

I typically find I don’t want low-profile keyboards to be anything but flat. The very slight rise is fine but I don’t need these feet.
Layout and Keycaps

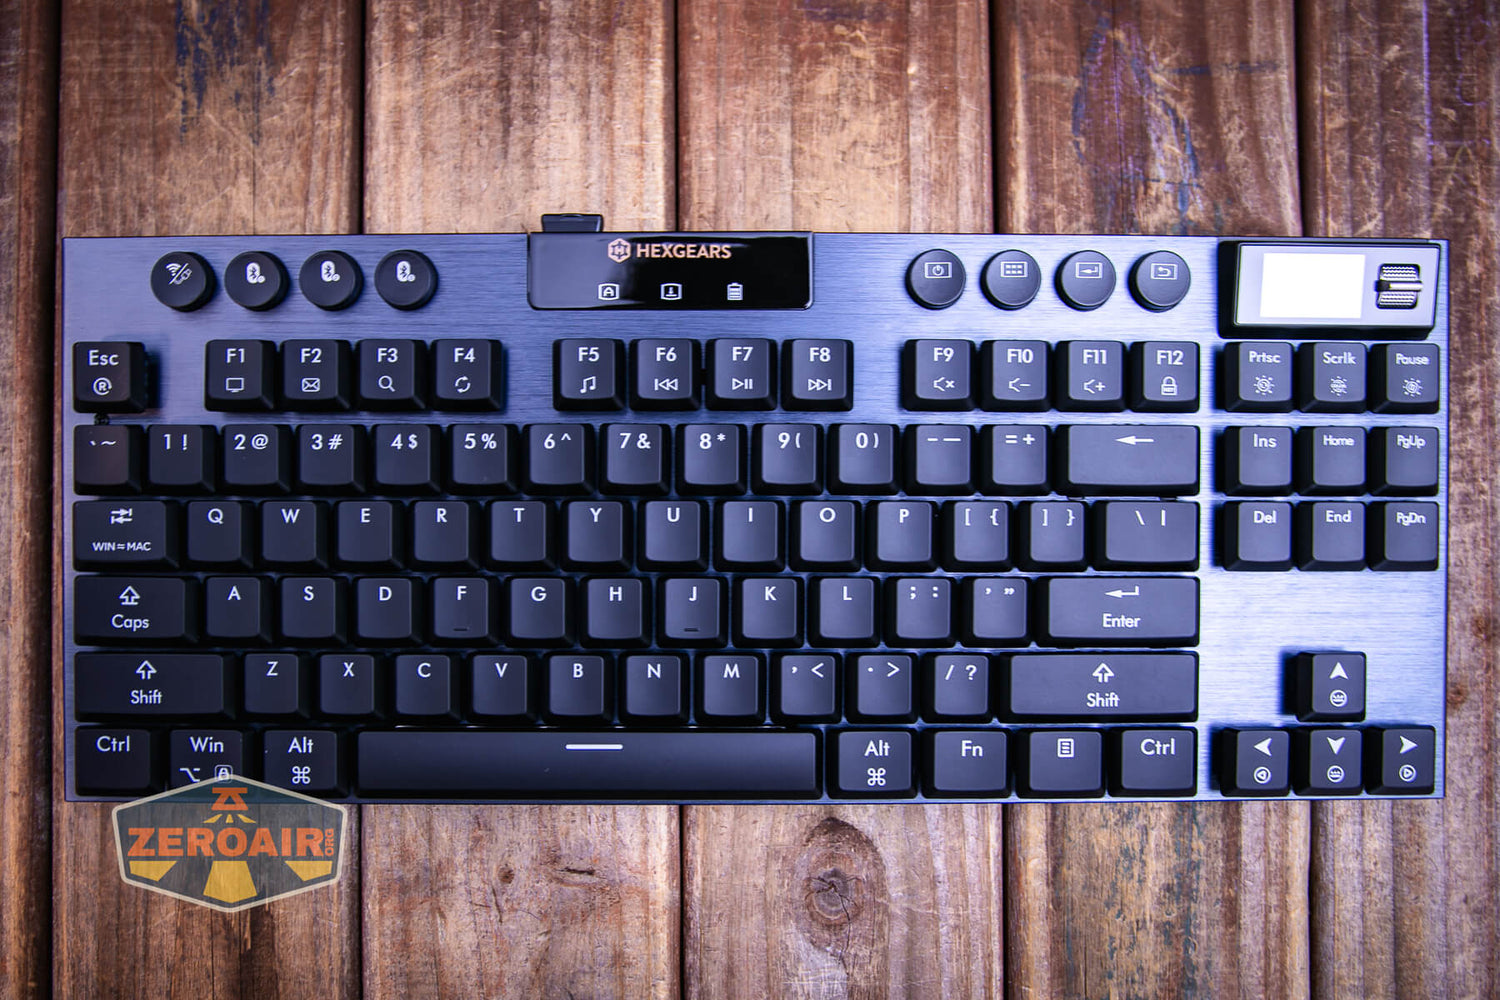
It’s right in the title: this is a TKL board. “TKL” means “tenkeyless” – there’s no numbers section to the right.
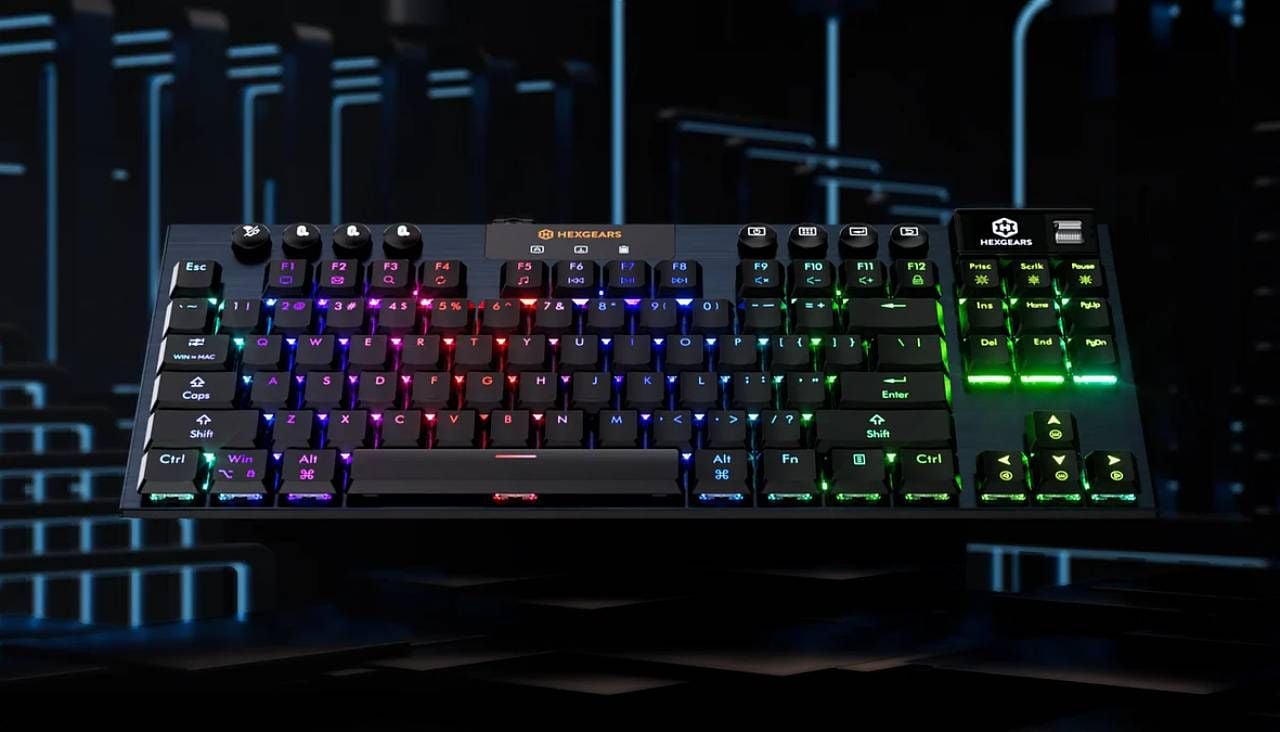
That’s just going to be a personal preference thing. I really love 60-65% keyboards (mostly for looks), but I must have arrow keys. TKL boards are sort of a sweet spot for that. In addition to the function row (above the numbers) this board has a few accessory buttons. And they’re buttons – they are not Kailh switches. I would guess it’s some type of e-switch. They’re a little bit clicky and not at all silent like the keyboard’s switches.

The keycaps are called “anti-fade” keycaps, designed to resist fading after years of typing. I haven’t tested longevity, but the keycap surface does really feel superior.
They are thin though (of course they are – this is a low-profile board!). That’s fine but could make finding replacements … different. The switches are still standard Kailh though, so as long as you find keycaps for those switches, you should be good.

Two things to note about the switches and keycaps is that this seems to be a MX-style stem. It’s not the other (older?) type of Kailh (which sort of looks like an equal sign).
Also, the switches are “box” switches. This offers a snugger fit to the keycap and can offer a better typing experience.

Discussing replacement keycaps is a mixed bag here. This keyboard is definitely marketed as a gaming board, and that’s reasonable. But with these black shine-through keycaps, I’d put it firmly in the “office safe” area. It’s exceptionally office-friendly – particularly this silent version I have…
Life ain’t nothing but Switches and money

These switches are Kailh Low-Profile Silent switches. I do not see any further information on the switch. They appear to be these from Kailh.


They are very silent. Super silent. The most silent. I tend to go with browns, (and have typed most on speed silvers). So this silent experience is different for me and quite frankly, very much like typing on a Macbook but with real travel. It’s great!
Connectivity
There are three ways to connect the Hexgears Immersion A3 TKL mechanical keyboard. First is this included USB-A to USB-C cable.

Two other options include Bluetooth 5.0 and 2.4GHz Wireless.

This USB-C port is not directly in the center of the board – it’s slightly to the left of the center (when looking down on the board as if typing).

The wireless adapter fits snugly in this opening on the back. I would love for this to sit flush or live on the bottom of the board – but if you have to use this, then it won’t matter, as it’ll be in your computer anyway.


I found connection to be a breeze generally. I tried to swap the board into my office setting and the USB-C cable I have there was a bit thick, so would not fit into the board. Not a problem since they include a cable, but just so you know – you may need to use their cable.
Bluetooth connectivity also went very smoothly. Three Bluetooth connections are possible, and each has its own dedicated button at the top left of the keyboard. For the first connection, click the button then hold it and you should see it in the Bluetooth menu of your device (like HXG KB1, HXG KB2, or HXG KB3). Tap that on your device and you should be ready to go.

Connecting the USB to USB-C cable is also the way to charge the built-in 5800mAh battery.
User Interface and Operation
I’ve already mentioned a bunch of the ways you’ll interact with the Hexgears Immersion A3 TKL mechanical keyboard. As a keyboard (obviously) but also the wired/Bluetooth switches and the on/off switch on the back. There are 5 switches we have yet to talk about, too.
First is this “Home Screen” which is a rocker switch. That rocker is used to select through the menu options for controlling things like the RGB settings, language, brightness, etc. The four switches to the left of this display and rocker, though, are used for selecting things within that menu. So this display isn’t really a standalone thing – you’ll need to be familiar with those other four buttons, too.


Below is the basic home screen. There’s a date, time, and battery level. Also included are all the things that are active, like Win/Mac, Wired/Wireless/ Which Bluetooth is active/ Caps Lock, and one other thing I can’t identify (“1” below.)

The other four switches can be seen here (stock photo, sorry I don’t seem to have gotten a good photo of those!)

In order from left to right they do the following:
1. Turn the display on or off
2. Go straight to the home page
3. Confirm and open the selected item
4. Return (backward) by one
Honestly, you can do most of that stuff through the normal keyboard operations (by “normal” I mean the same keys you’d press on just about any other RGB keyboard will work on this one. FN arrow up, for example, increases RGB brightness. I don’t see a way to change language outside of the screen, though.
I also don’t see a way to set the clock through the keyboard menus. That doesn’t matter too much because the board does go to sleep fairly soon while on an un-wired connection. The screen (and RGB LEDs etc stay on in a wired connection!)
To set the clock on the home screen, you’ll need the software linked below. Once you use that software, the clock will sync automatically! The software seems to be Windows only though, so at the very least you’ll need to use a Windows computer to get the clock set.
Programmability
The Hexgears Immersion A3 TKL mechanical keyboard does have some programming options (important ones! See the section above.) Here’s a link to the software. Hexgears stores it on Google Drive.
It’s an exe, so appears to be Windows only! I’ll give this a run-through and update later – on my first pass with the keyboard, I didn’t realize there was software!
This software allows you to easily set specific key configurations and key bindings. This is essential for handling repetitive and complex key commands.
RGB
The RGB is set up as “north-facing” and is said to offer “16.8 million colors”


Conclusion on the Hexgears Immersion A3 TKL Mechanical Keyboard
What I like
- Great build quality
- Silent switches are very silent
- TKL is a great size
- Very office-friendly
- Home screen has some neat features (mainly it’s a neat way to play with the RGB options)
- Low profile switches but still fits MX-style caps (probably any but specifically low profile caps)
- Battery life seems good
What I don’t like
- I can’t figure out how to set the clock on the home screen!
- The buttons (not switches) don’t match the silent nature of the switches




Leave a comment
All comments are moderated before being published.
This site is protected by hCaptcha and the hCaptcha Privacy Policy and Terms of Service apply.