How to detach and replace mechanical keyboard switches on your mechanical keyboard.

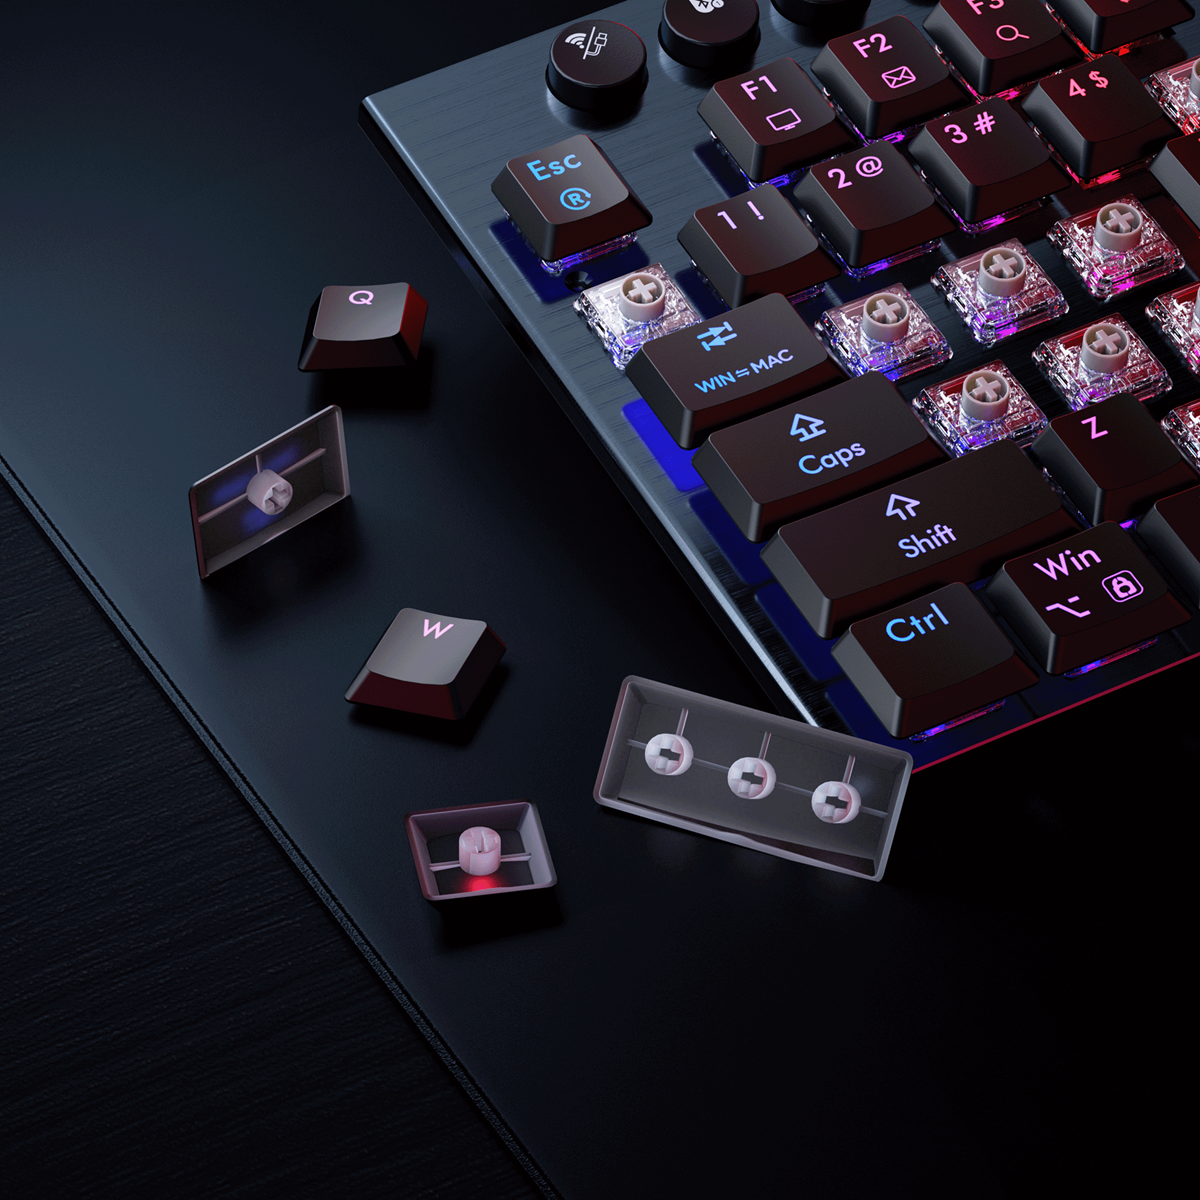
Swapping mechanical switches on your mechanical keyboard is a relatively easy task. But before you do, make sure your mechanical keyboard is Hot-Swappable.You should already know whether the mechanical keyboard you have, or purchased is a hot-swappable keyboard, if you're unsure, check the keyboard's box or product manual just to make sure. As trying to remove a mechanical switch from a mechanical keyboard that isn't hot-swappable could result in permanently damaging your keyboard.
| Two special tools are required when needing to swap switches on your mechanical keyboard; a keycap puller, and a switch puller. These tools are usually included in the package contents of your mechanical keyboard. |
 |
Make sure that you use the correct tools for the task at hand. Using a switch puller to remove keycaps could damage the keycaps.
As you can see from the detailed images below, in just three simple steps, using the correct tool (key cap puller), you can detach the keycap to reveal the mechanical switch underneath. Simply glide the keycap puller over the key cap while wiggling the keycap puller to get into position, once you've got a good grip in place, pull upwards, gently, until the keycap is detached.

Knowing how to remove mechanical switches.
Removing a mechanical switch requires a bit more finesse than detaching a keycap. Note that mechanical switches come in various forms, and the area to grip should be as shown in the images below. Before pulling out a mechanical switch, have a closer look to see where the grip should be; pulling out a switch incorrectly could damage the mechanical switch.
Once you've located the grip area, use the switch puller (usually included in the package of your mechanical keyboard), get a good grip in place, and pull upwards while pivoting ever-so-slightly, and the mechanical switch should detach effortlessly.

Mechanical keyboards that feature 5-pin slots as shown in the image below can also be used with 3-pin mechanical switches. The difference between 3-pin mechanical switches and 5-pin mechanical switches is that 5-pin switches are designed with two extra plastic legs.
This design offers greater durability and stability to keypresses, usually preferred by pro gamers and eSports professionals.The image on the left details the slots within the PCB switch board of a mechanical gaming keyboard, while the image on the right displays a 3-pin mechanical switch, and a 5-pin mechanical switch.
When swapping out mechanical switches, make sure to use the mechanical switches that are compatible with your keyboard.

Inserting a new or replacement switch is as easy as pie. As you can see from the images below, position the keyboard’s mechanical switch so that the pins and legs are facing in the correct direction. You can use your fingers to grip the mechanical switch, or the switch puller tool.
Guide the mechanical switch over the PCB board, align the legs and pins over the sockets, and push downwards gently. You will hear a loud click, which indicates that the mechanical switch is now attached to the PCB board.
 |
 |
 |
 |













Leave a comment
All comments are moderated before being published.
This site is protected by hCaptcha and the hCaptcha Privacy Policy and Terms of Service apply.